Best Practices for Insulating Standard Garage Widths and Depths
Insulating a garage can feel like a guessing game, especially when you’re not sure how the garage insulation standard dimensions affect material choices and performance. This guide walks you through the most common garage sizes in the United States, explains how to match insulation to those dimensions, and provides a practical checklist you can follow on the job site.
@@DASH_LI_START@@–
Understanding garage insulation standard dimensions
Most new single‑car garages are built to a 12‑ft width and 20‑ft depth, while two‑car structures typically measure 20‑ft wide by 20‑ft deep. Larger accessory garages can range from 24‑ft to 30‑ft widths with depths of 24‑ft or more. These dimensions matter because they dictate the amount of wall and ceiling area you’ll need to cover, and they influence the R‑value you should target for each surface.@@DASH_LI_END@@
Garage Width (ft) Garage Depth (ft) Recommended R‑Value (Walls) Recommended R‑Value (Ceiling) 12 20 R‑13 to R‑15 (fiberglass batts) R‑30 to R‑38 (spray foam or rigid board) 20 20 R‑13 to R‑15 (fiberglass) R‑30 to R‑38 24 24 R‑13 to R‑15 R‑30 to R‑38 30 30 R‑13 to R‑15 R‑30 to R‑38
These are baseline recommendations for climate zones 4‑7, which cover the majority of the U.S. Adjust upward in colder zones (8‑9) or downward in milder zones (1‑3).
@@DASH_LI_START@@–
Choosing the right insulation for typical garage sizes
1. Fiberglass batts* – Affordable and easy to install between studs. Ideal for walls in standard‑size garages where you have a clear stud cavity (3½‑in).
When selecting a product, verify the manufacturer’s R‑value per inch and ensure it meets local building codes. Many jurisdictions require a minimum R‑value for detached structures.@@DASH_LI_END@@ @@DASH_LI_START@@–
Step‑by‑Step Checklist for Insulating Your Garage
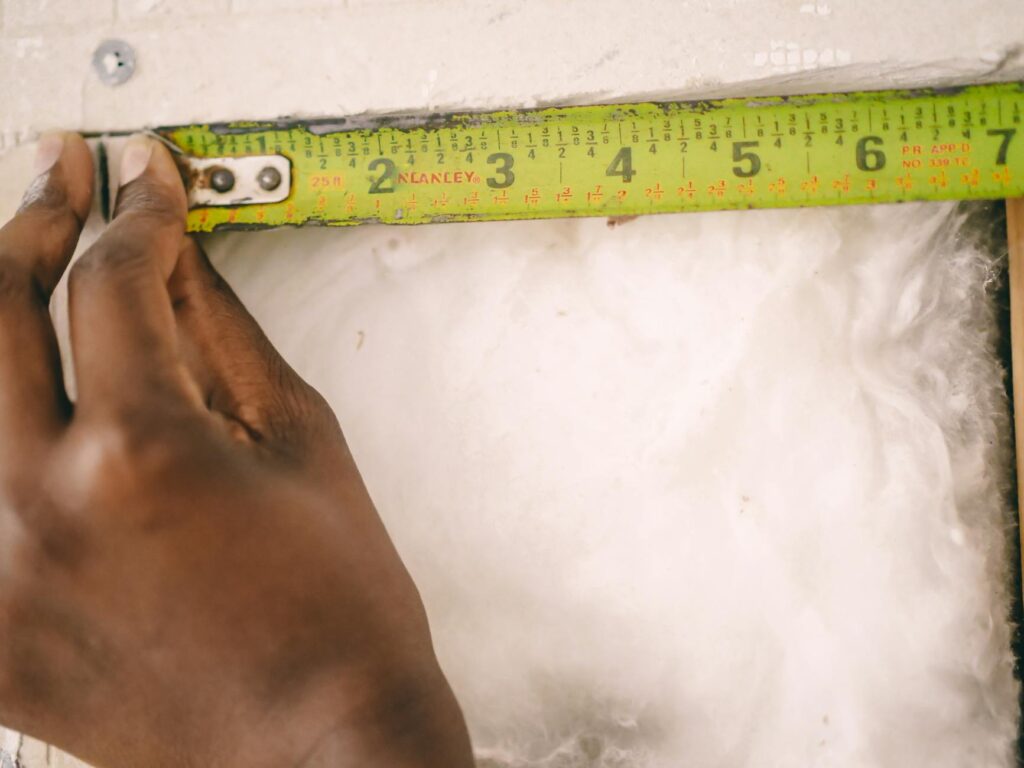
2. Measure the space*
- Record width, depth, wall height, and ceiling height.
- Note any irregularities such as recessed doors or windows.
3. Calculate surface area*
- Walls: `(width + depth) × 2 × height`
- Ceiling: `width × depth`
4. Select insulation type*
- Match R‑value recommendations to climate zone.
- Choose a material that fits the cavity dimensions.
5. Prepare the garage*
- Seal gaps around doors, windows, and the rim joist with caulk or expanding foam.
- Clean studs and sheathing of dust and debris.
6. Install wall insulation*
- Cut batts to fit snugly between studs.
- Use a vapor barrier if required by climate (typically in colder zones).
7. Insulate the ceiling*
- Lay rigid foam board directly on joists, then seal seams with foil tape.
- Alternatively, spray foam can be applied between joists for airtight performance.
8. Finish the interior*
- Install drywall or plywood over insulated walls for fire safety and durability.
- Add a vapor‑retarder on the interior side if local codes demand it.
9. Inspect and test*
- Perform a visual check for gaps.
- Use an infrared thermometer to spot cold bridges.
- Consider a professional energy audit for verification.
—
Common mistakes to avoid
- Skipping air sealing* – Gaps around the rim joist or utility penetrations can nullify the benefits of insulation.
- Using the wrong R‑value* – Installing R‑13 in a Zone 8 garage will leave you with noticeable heat loss in winter.
- Compressing batts* – Over‑tightening reduces effective R‑value and creates cold spots.
- Neglecting moisture control* – In humid climates, a vapor barrier on the wrong side can trap moisture and cause mold.
- Forgetting fire safety* – Some insulation materials (e.g., spray foam) require a fire‑rated barrier when used in garages.
—
When to consider alternative solutions
- Limited headroom* – If ceiling height is under 7 ft, rigid foam board may be easier to install than batts.
- High humidity areas* – Consider mineral wool, which resists moisture and provides sound dampening.
- Budget constraints* – Fiberglass batts offer the lowest upfront cost, but factor in long‑term energy savings.
- Future conversion plans* – If you intend to finish the garage into living space, choose insulation that meets residential code for walls and ceilings.
—
Conclusion
Understanding the garage insulation standard dimensions is the first step toward a comfortable, energy‑efficient garage. By measuring accurately, selecting the appropriate R‑value, and following a systematic installation checklist, homeowners can avoid common pitfalls and achieve lasting performance. Whether you opt for fiberglass batts, rigid foam, or spray foam, the key is to pair the right material with proper air sealing and code compliance.@@DASH_LI_END@@ @@DASH_LI_START@@–
Frequently Asked Questions
What is the minimum R‑value required for garage walls in most U.S. climates?*@@DASH_LI_END@@
Most building codes in climate zones 4‑7 require at least R‑13 for garage walls. Colder zones may mandate R‑15 or higher.
Can I insulate a garage without adding drywall?*
Yes, but many local codes require a fire‑rated interior finish (e.g., drywall) for detached garages. Check your municipality.
Is spray foam worth the extra cost?*
Spray foam provides superior air sealing and higher R‑value per inch, which can reduce heating and cooling bills. It’s most cost‑effective in extreme climates or when space is limited.
How do I prevent moisture buildup after insulating?*
Install a vapor barrier on the warm side of the insulation in cold climates, and ensure proper ventilation. In humid regions, use moisture‑resistant insulation like mineral wool and avoid vapor barriers that trap moisture.
Editorial note*: This article is intended as practical planning guidance. Always verify product specifications, local codes, and site conditions before making final decisions.
Author bio*: Written by the editorial team, with a focus on practical planning, clear homeowner guidance, and SEO‑friendly educational content.